When you attempt to downgrade your current iOS/iPadOS version to an older unsigned one, a critical part of the process is Saving Blobs. We are dedicating this post to share with you multiple working methods to save blobs. However, before you proceed to read, please note that most of the methods for saving blobs require a jailbroken device, other than the one that utilizes a computer.
In case you need a guide to jailbreak your iOS device: iPhone Jailbreak iOS 17 – The Best Guide for Beginners.
Working Methods to Save Blobs
In this post, we will discuss 4 effective methods to Save blobs.
1. Save Blobs Via shshd
Hailed as one of the best tweaks for auto blob saving, shshd does most of the work for you in the background. There is no requirement for any manual intervention, however, you do require a device jailbroken with Odyssey, Taurine, Odysseyra1n, or Chimera for this tweak to work. If you are utilizing unc0ver or Checkra1n, proceed to the next method.
Installing the shshd tweak is simple. Launch your package manager and search for the shshd package. Proceed to download and install the same. Now, every time you re-jailbreak and every coming week post that, blobs are automatically saved on the TSS saver website. Your ECID or Exclusive Chip Identification is the key to retrieving your saved blobs from the website. If you wish to run shshd manually, you are required to do that via the terminal.
2. Save Blobs Via TSS Saver App
You can install this app on your jailbroken iOS/iPadOS devices. Below are the steps for the same.
- As a first, in your package manager app, please add https://repo.1conan.com/ to the sources.
- From this source, please download and install TSS Saver.
- If utilizing unc0ver on iOS 14, please download and install libkrw as well.
- If utilizing Taurine on iOS 14, please download and install libkernrw as well.
- Launch the app and tap on the button captioned ‘Save Blobs’.
- You will receive a confirmation once done.
3. Save Blobs Via TSS Saver Website
If you do not wish to utilize the TSS Saver App, you can also get the same services on the TSS Saver Website. Follow the below steps to save blobs with the TSS Saver Website.
- As a first, please connect your iOS/iPadOS device with your Windows/MAC PC/Laptop.
- Windows users require utilizing iTunes and MAC users can utilize the Finder app.
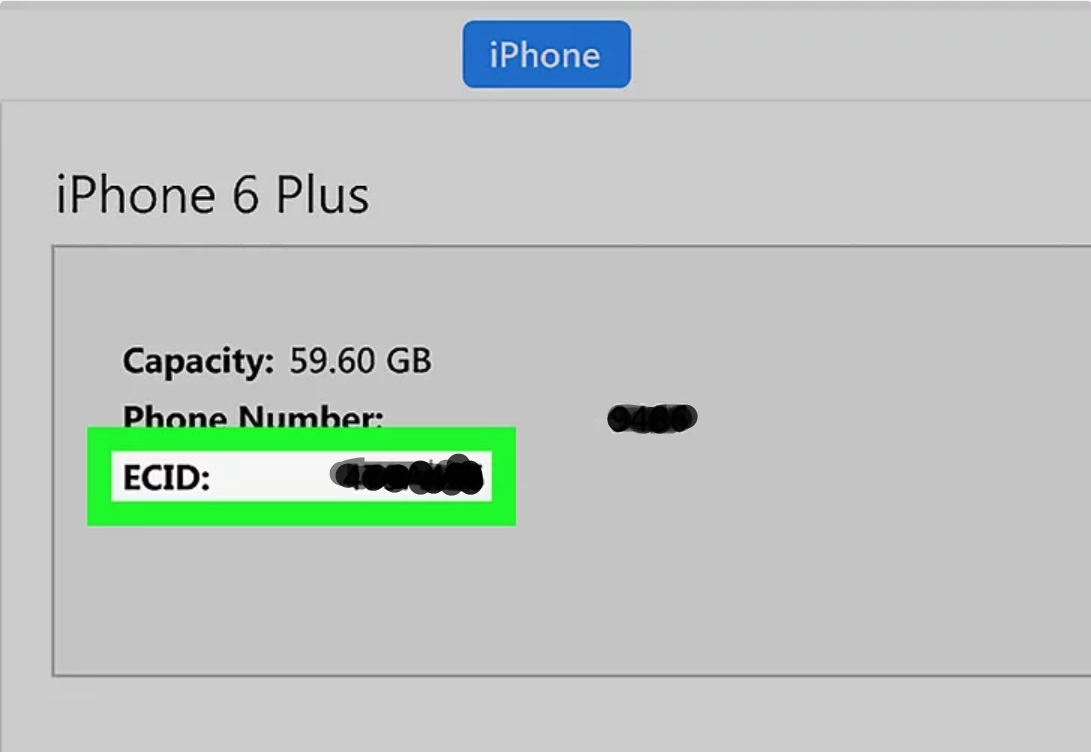
- On the device summary page, tap twice on the Serial Number field.
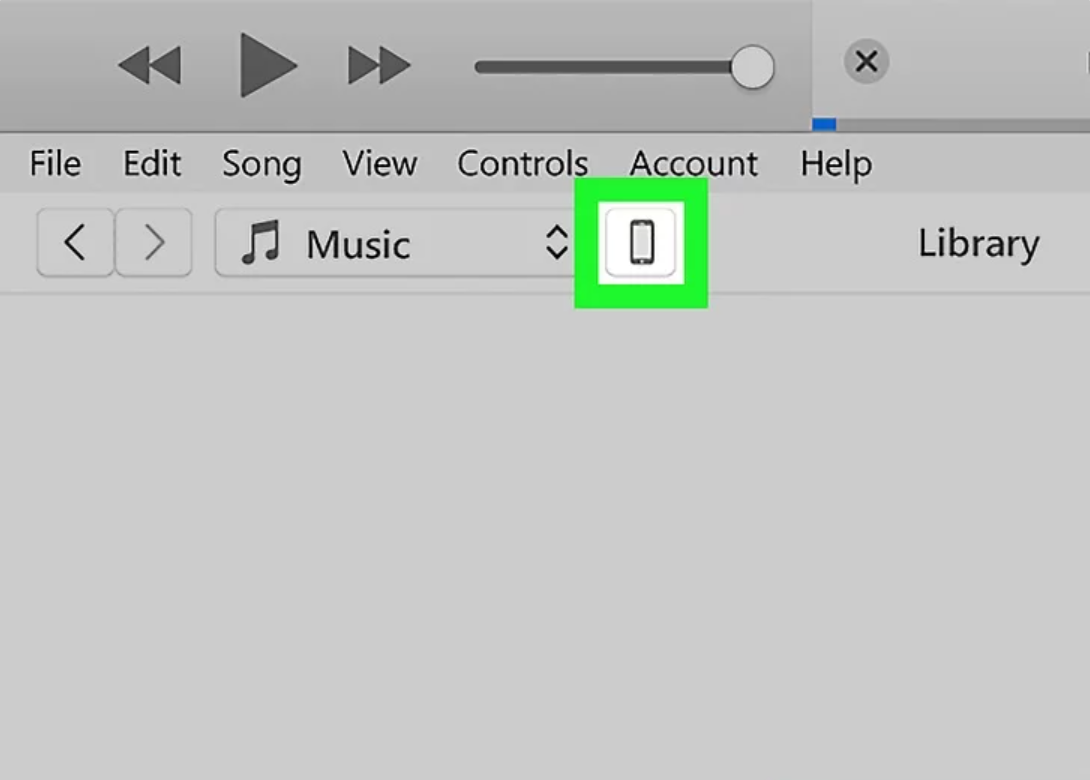
- This will give you the ECID number of your device. Please make a note of the same.
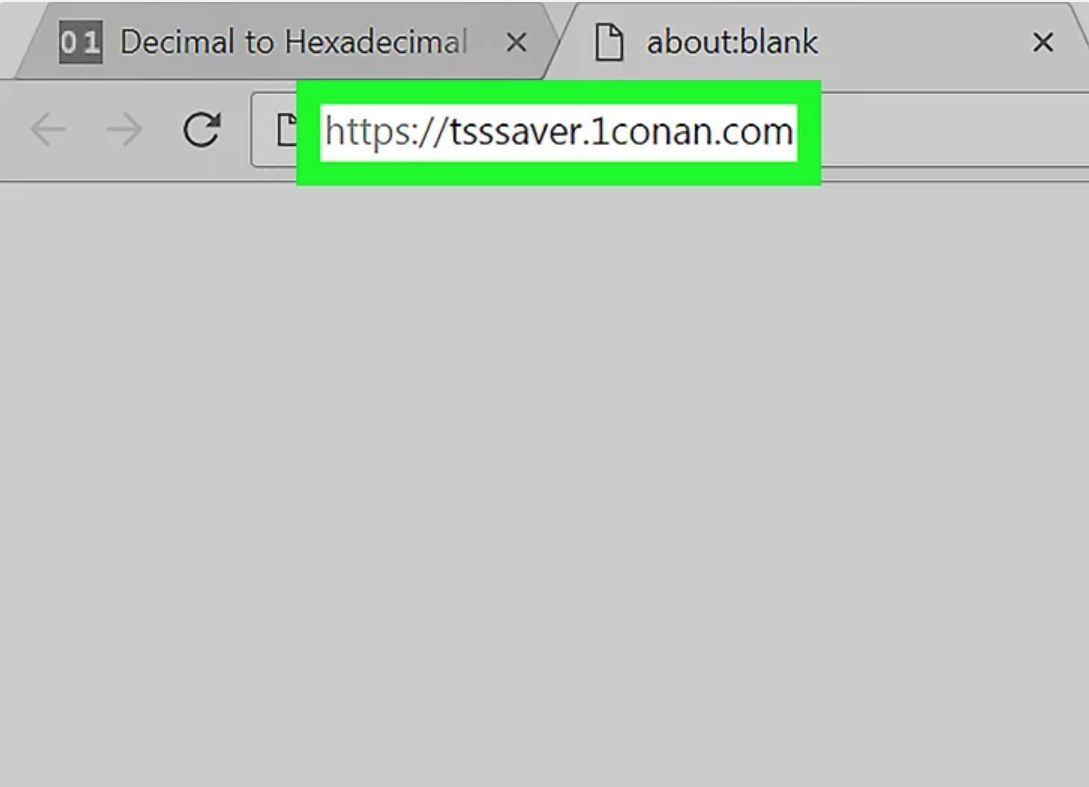
- Go to the website (https://tsssaver.1conan.com/v2/)
- Enter the ECID Number.
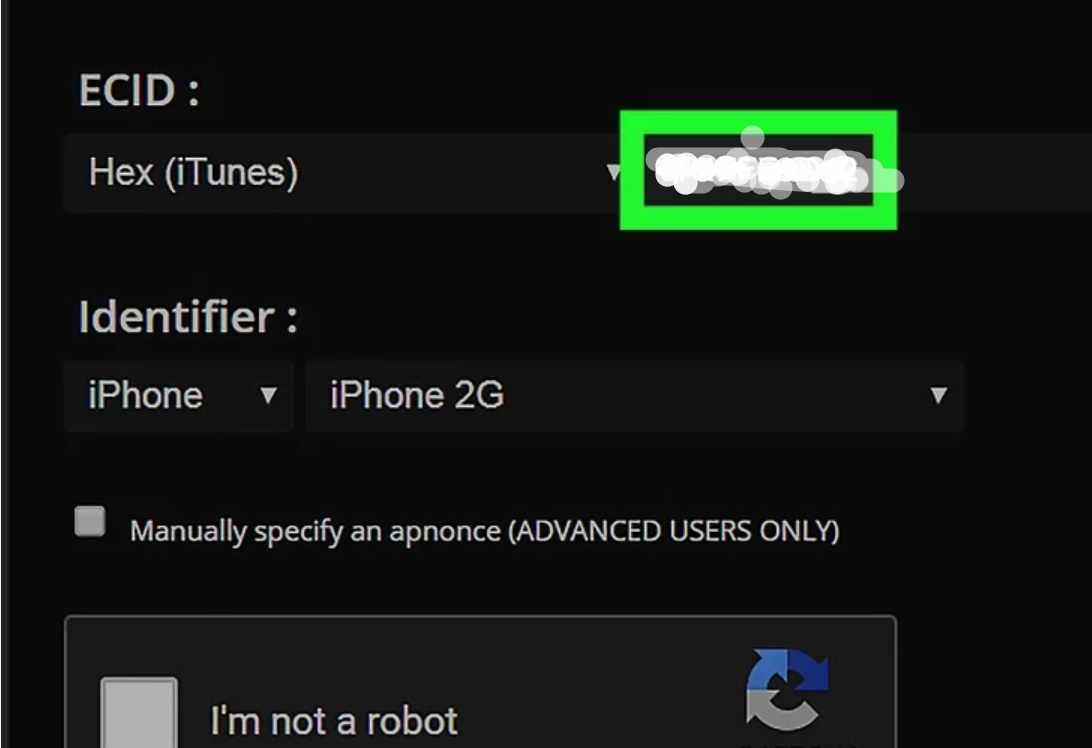
- Choose your device. Now here there is a catch. Check it out below.
- If you are on an iPhone 6S/6S-Plus or iPhone SE, you also need to know the board configuration of your device. Check out the AX-CPU app on the Apple Store for that.
- If you are utilizing an A12+ device, then you require being jailbroken to use the TSS Saver website. In addition, other than the ECID you also need to enter the ApNonce and Generator pair. Follow the below steps to get that.
- First, make sure you have libkrw or libkernrw installed if you are on unc0ver or Taurine jailbreak respectively.
- Launch the Terminal app >> sudo dimentio > dimentio.txt
- Navigate to /var/mobile in Filza and tap on txt.
- After the label “Current nonce is”, copy the 0x number. This is present at the very bottom of the txt file. Apart from this, also copy the number after the label “entangled nonce:”
- Generator = 0x number
- ApNonce = Entangled nonce number
- Hit the Submit
4. Save Blobs Via Blobsaver
Compatible with macOS, Windows, and even Linux, with Blobsaver you can easily save blobs irrespective of whether you are using a jailbroken device. Below are the steps.
- Get the latest version of Blobsaver from here.
- Connect your iOS/iPadOS device to your PC in an unlocked state.
- Launch Blobsaver and tap on the “Read from device” button. This will get the ECID and the required device info.
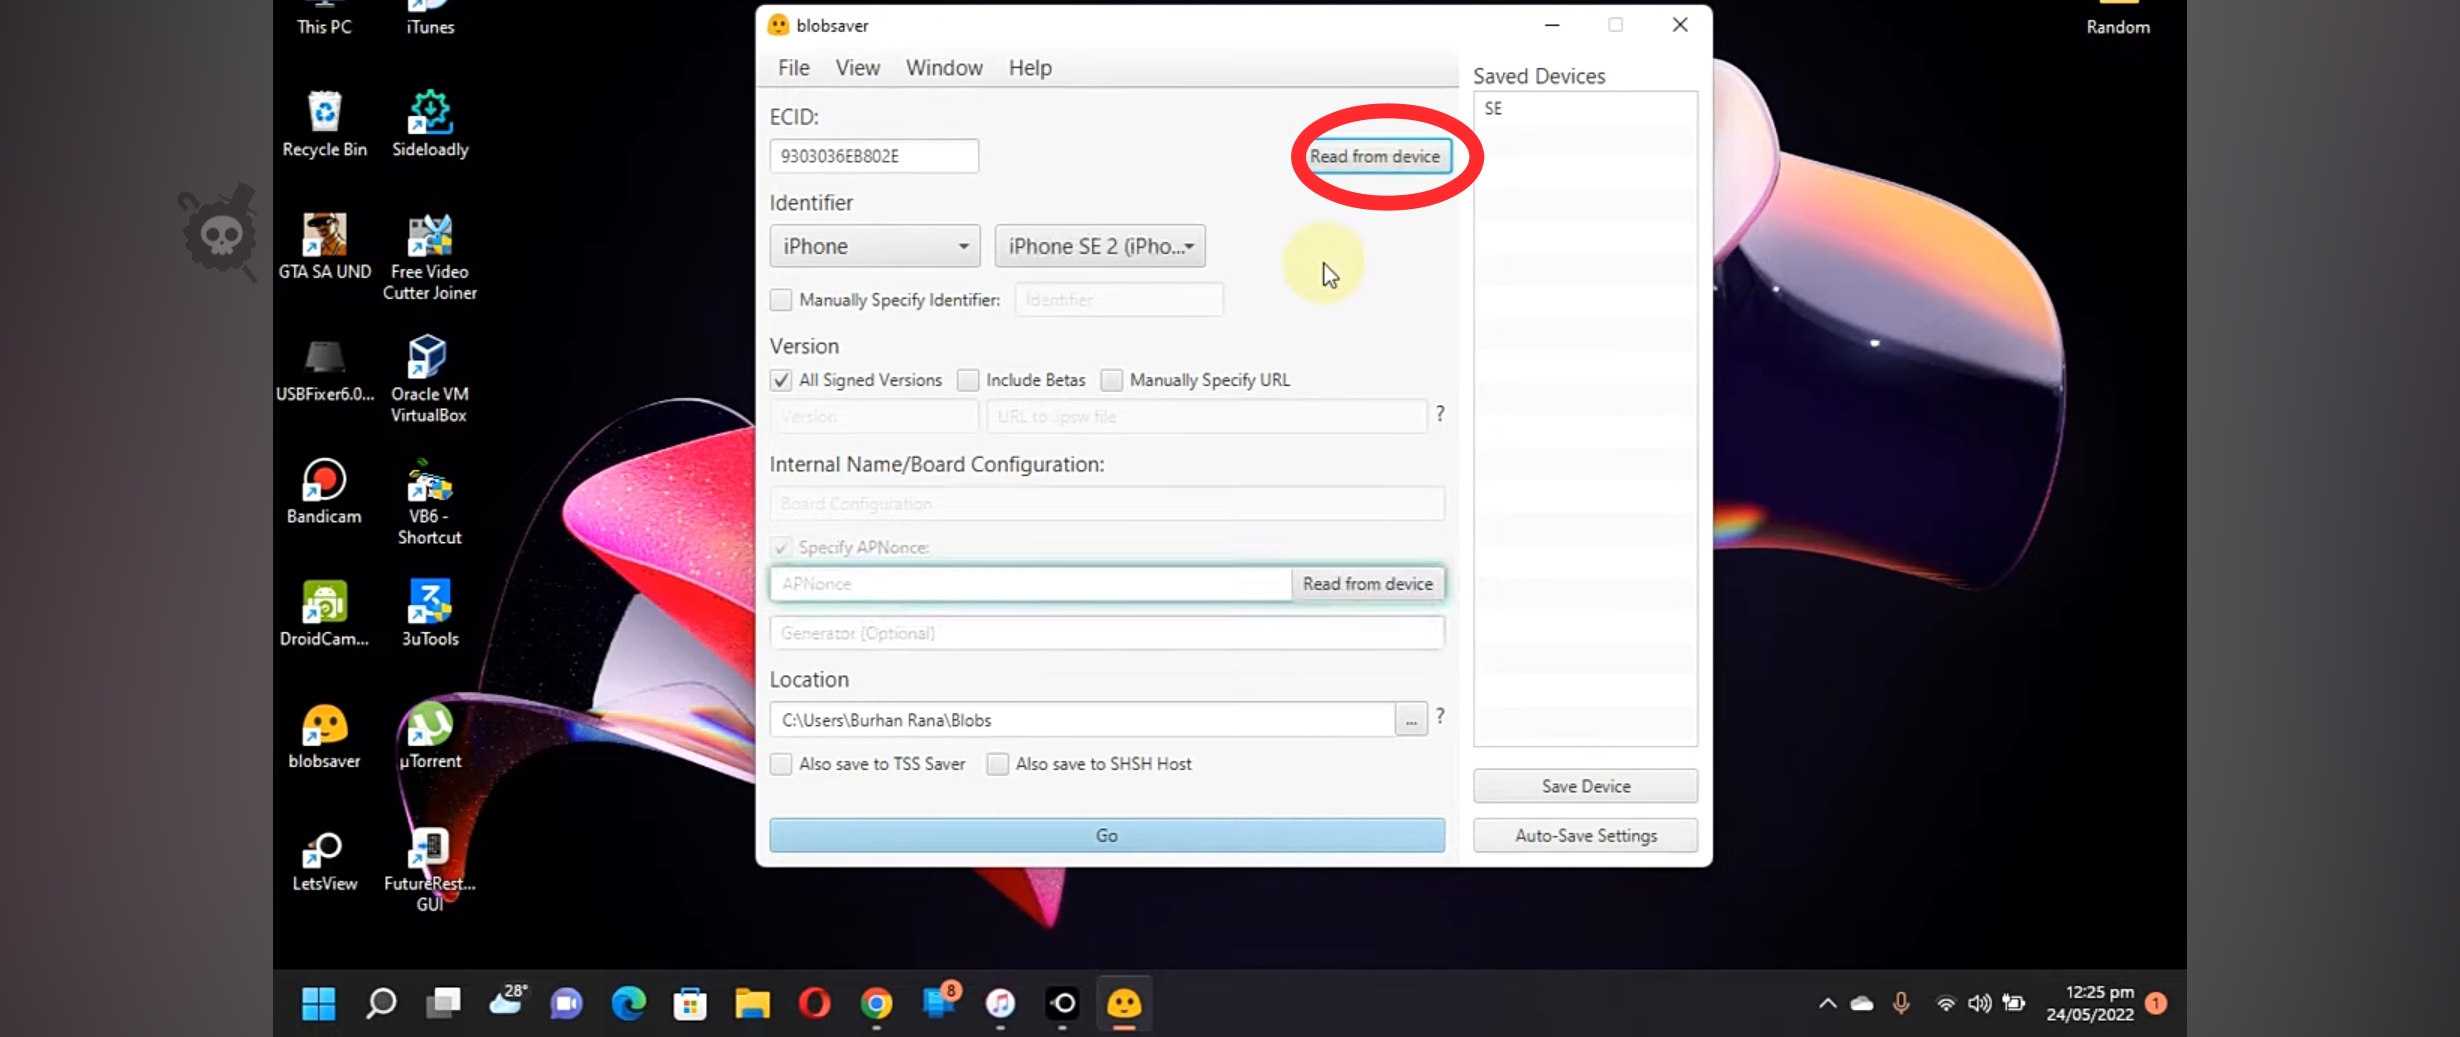
- Please note here also, that if you are using an A12 device or higher, you will need APNonce and the generator. Otherwise, you can skip the below sub-step.
- Tap on the second “Read from device” button immediately placed to the side of the APNonce field.
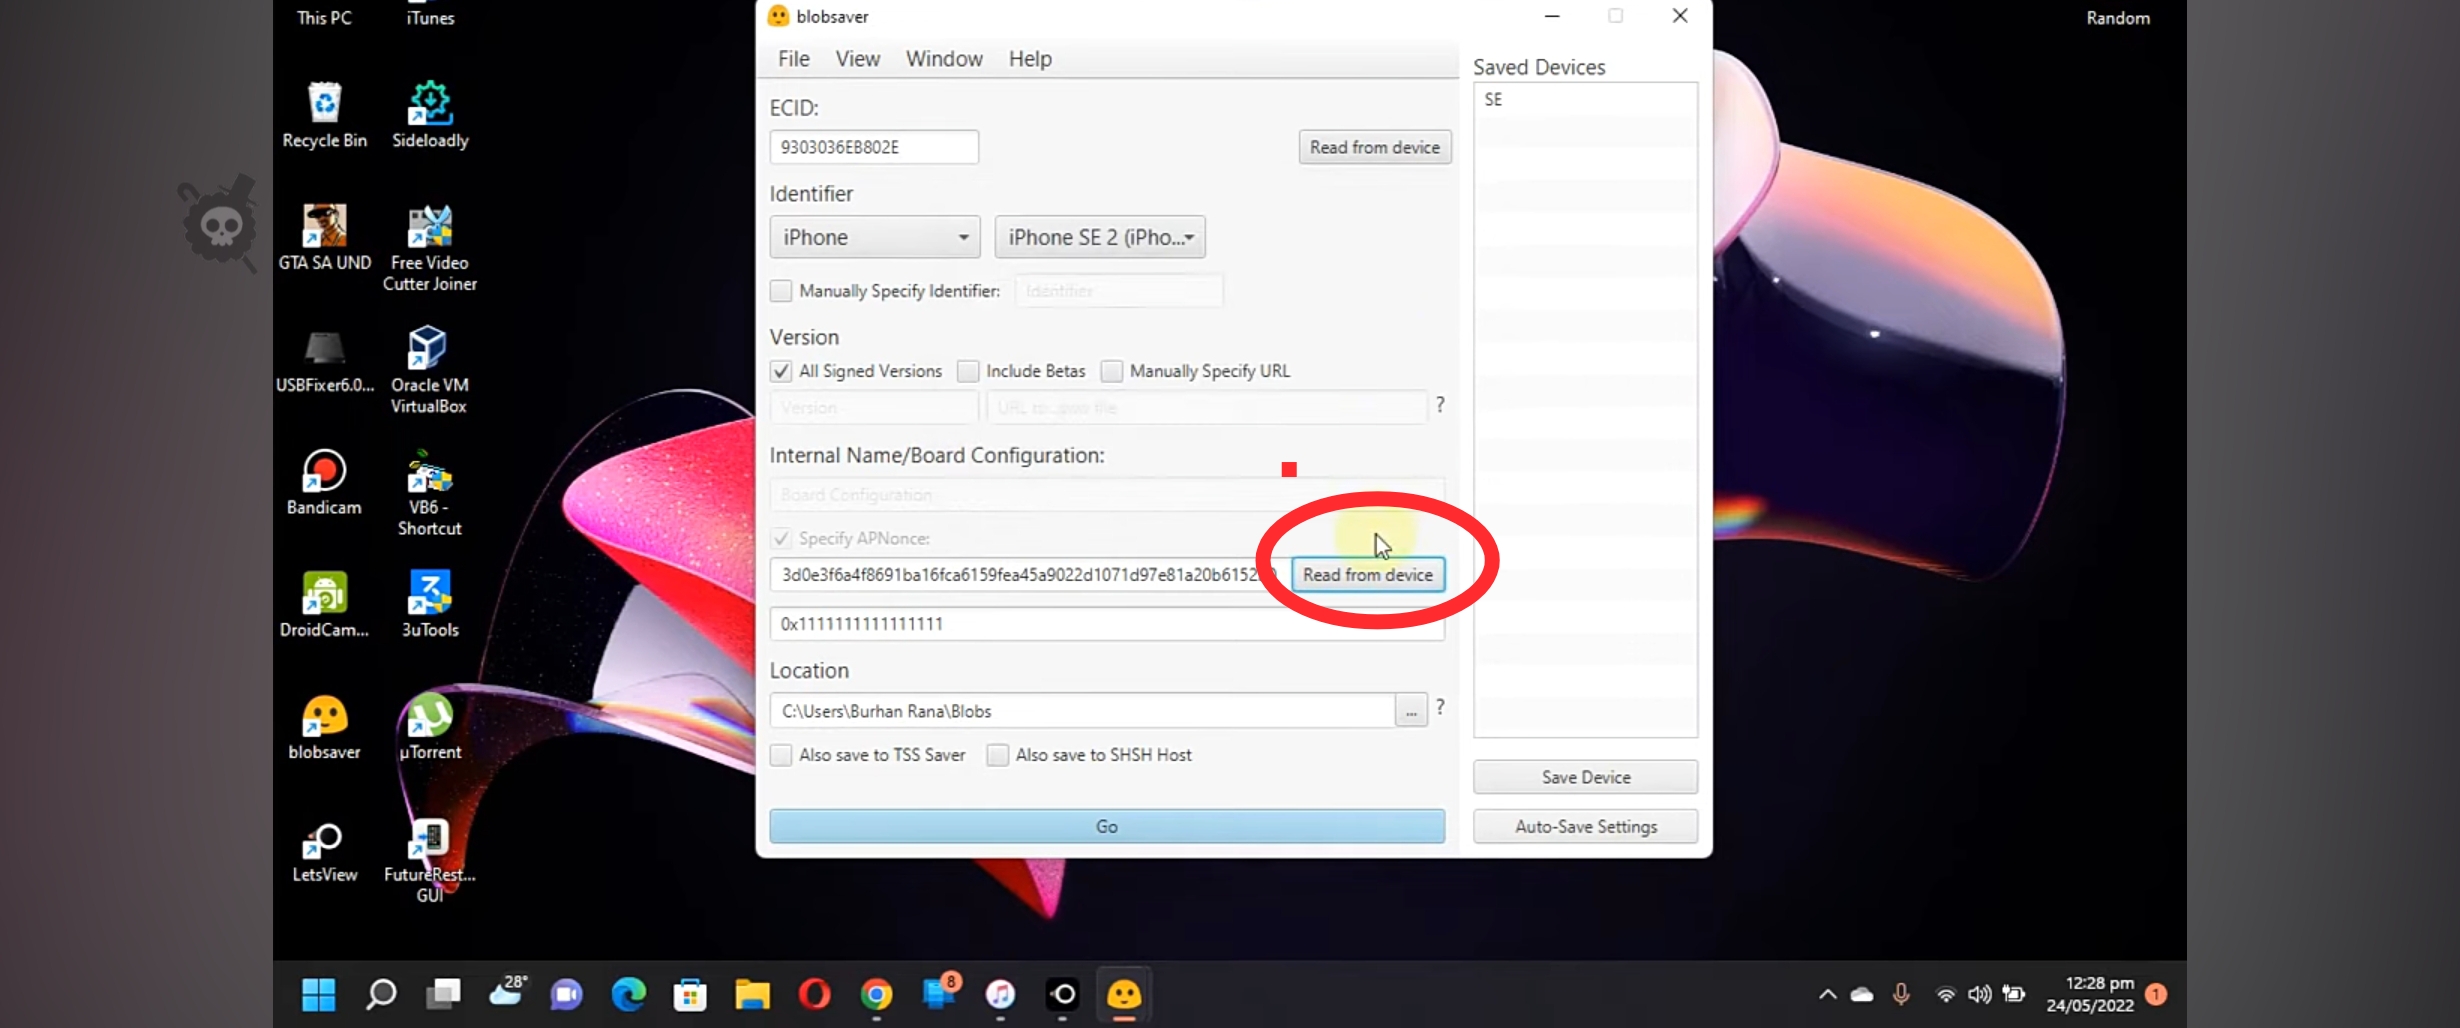
- Please note if you are using a jailbroken device or already in possession of an APNonce/Generator number, choose “jailbroken”, else, choose “unjailbroken”.
- Now your device will reboot in recovery mode multiple times. Post rebooting into normal operating system mode; unlock your iOS/iPadOS device.
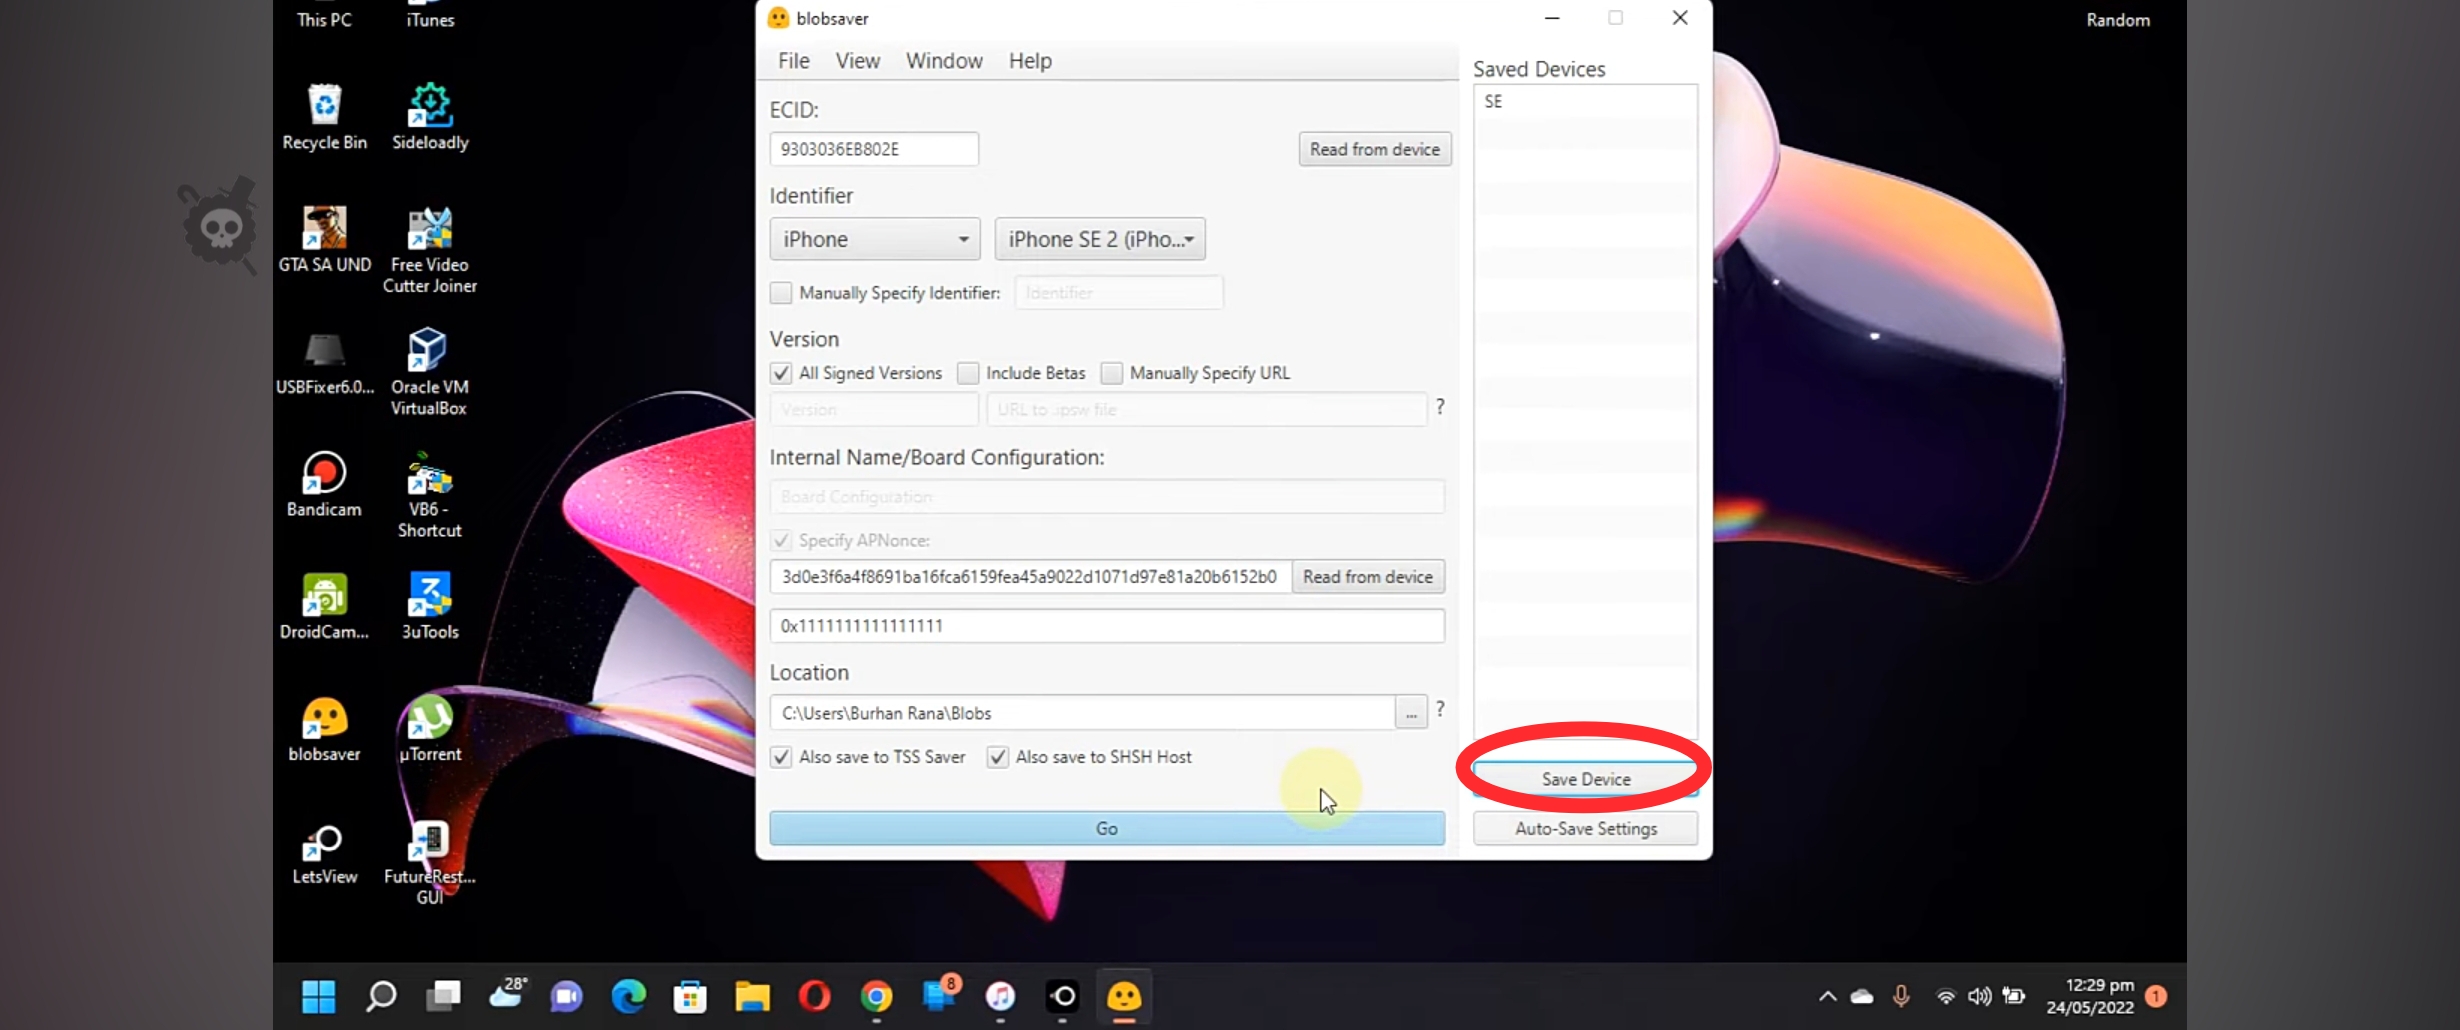
- Now, hit Go to save the blobs.
- Tapping on the Save Device option will allow you to skip all of the above steps and quickly save blobs when needed next.
- Alternatively, if you wish to set up Blobsaver to automatically save blobs, click on “Background Settings.”
- In case of multiple saved devices, choose which device you want to set up for automatic blob saving.
- Choose your frequency with the “Change Frequency” button.
- Tap on “Start Background” and you are done.
iOS users Don’t miss this Guides:
Best TrollStore Apps for iPhone Users
TrollStore Installation [TrollHelper]
Error Fix* – Installing TrollStore
Final Words
You can save blobs on your jailbroken or un-jailbroken iOS/iPadOS device through these different methods. Let us know in the comments section below if you happen to face any issues while saving the blobs.
Thank You.